배송지와 청구지 주소가 다른 경우
People and businesses often use separate addresses for billing (invoicing) and shipping (delivery) purposes. With the Odoo Sales app, contacts can have different specified addresses for delivery and invoicing.
설정
To properly utilize multiple addresses in Odoo, go to the , and scroll down to the Customer Invoices heading. Then, tick the Customer Addresses checkbox.

연락처 양식 설정
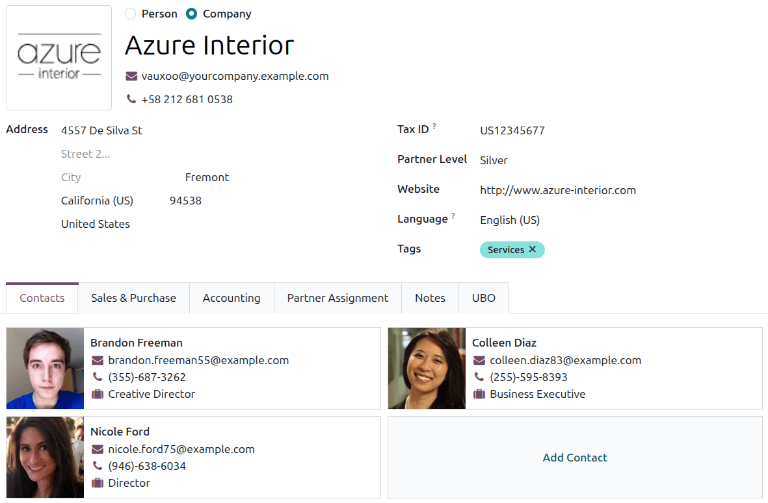
To add multiple addresses to a contact, go to the , and clear any default filters from the search bar. Then, click on the desired customer to open their contact form.
팁
Contact forms can be accessed in the Contacts application, as well.
From the contact form, click the Add Contact button, which is located under the Contacts tab. This brings up the Create Contact pop-up form, in which additional addresses can be configured.
On the Create Contact pop-up form, select any of the following options:
Contact: Adds another contact, such as an employee at a company, to the contact form.
Invoice: Adds a default invoice address to the contact form.
Delivery: Adds a default delivery address to the contact form.
Other Address: Adds an alternate address to the contact form.
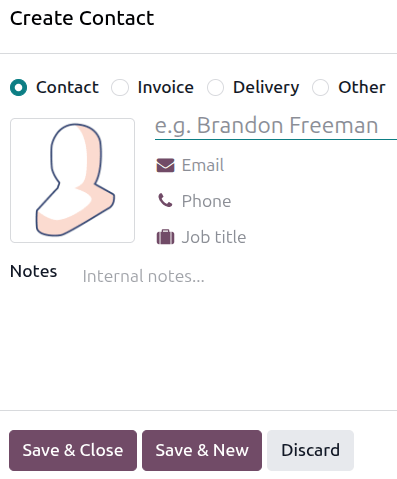
Once the corresponding information has been entered, click Save & Close to save the address and close the Create Contact window. To save the address and input additional contact information, click Save & New instead.
견적서 및 자동 입력 주소
When a customer with invoice and delivery addresses in their contact form is added to a quotation, the Invoice Address and Delivery Address fields autopopulate with the corresponding addresses.
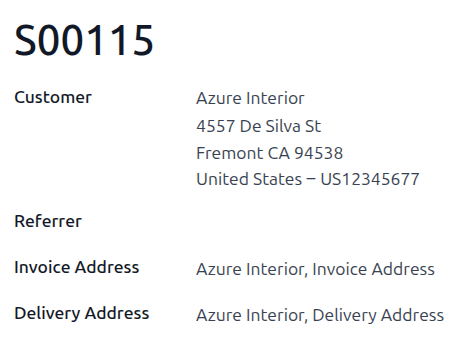
The Invoice Address and Delivery Address can also be edited directly from the quotation by mousing over the address and clicking the (Internal Link) icon.