Community Chat Rooms
In the Events app, users can create Jitsi video conference rooms for event attendees to connect and discuss topics related to the event.
Configurare
To set up community rooms, the Community Chat Rooms feature needs to be enabled in the Events settings by navigating to . In the Events section, enable Community Chat Rooms and click Save.
With the Community Chat Rooms feature enabled, users can then create community rooms in the database and publish them on the website. Event attendees can not only join rooms but also create them directly on the website.
Create a room
To create a community room in the database, open the Events app, then select or create an event.
A Rooms smart button appears at the top of the event form. Click it to open the list of meeting rooms created for the event.

Meeting room form
To create a new room, click New. This opens a form to configure details about the room.
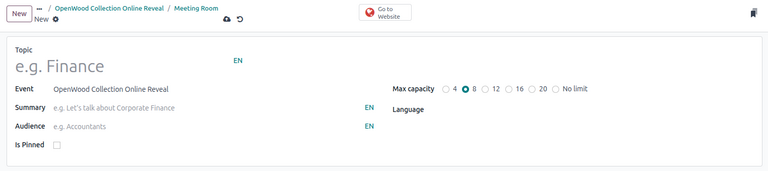
Begin by entering the name of the topic in the Topic field.
Then, complete the information in the following fields:
Event: Select the corresponding event for the meeting room. This field is automatically populated.
Summary: Enter a short description of the meeting room’s purpose.
Audience: Specify the intended audience of the meeting room.
Is Pinned: Specify whether the meeting room should be pinned on the event website.
Max capacity: Select the maximum number of participants allowed in the room.
Language: Select the language of the meeting.
The Chat Room field is automatically populated with a generated name for the Jitsi conference room. If desired, the user can change this name by clicking the field and modifying any details on the resulting form.
Finally, the Participant count field automatically populates with the number of attendees currently in the meeting room.
Once the meeting room form is complete, a Reporting tab appears at the bottom of the form, allowing users to monitor the Last activity date and the Peak participants count for the event.
Publish meeting room
After configuring the meeting room form, users must publish the room on the event website to make it visible for event attendees. To do this, click the Go to Website smart button at the top of the meeting room form.
This opens the meeting room page on the event website, currently invisible to attendees. To publish it, toggle the Unpublished button. The meeting room is then Published and available for attendees to join.
Community rooms on the website
Once published, community rooms appear on the event’s webpage. To access them, open the Website app and navigate to the Events header menu item on the website. Then, select the desired event to open the event-specific webpage. The sub-menu appears with the Community option.
Notă
If the Community sub-menu item is not displayed, the website must first be modified in the database using the editor mode in order to display the sub-menu.
To start, click Edit in the top corner. In the Customize tab, toggle the Sub-menu (Specific) option, then click Save.
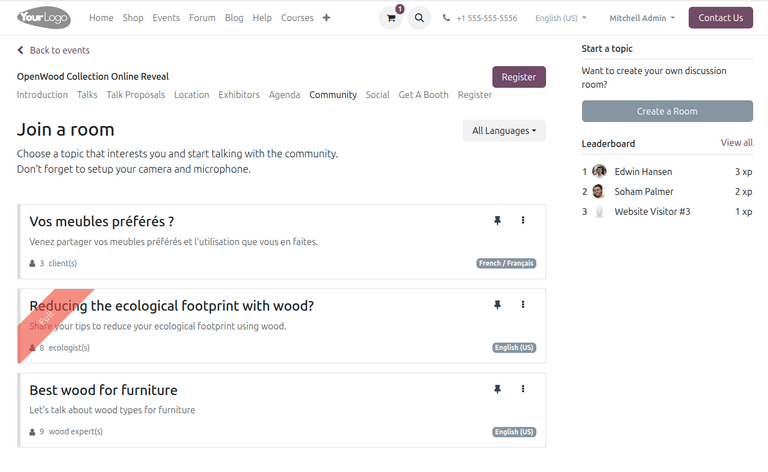
Clicking the Community sub-menu item opens the Join a room page, listing all published meeting rooms, along with information including the topic title, a short summary of the room’s purpose, and the number of participants in the room. Optionally, attendees can also pin a meeting room by clicking the (pin) icon next to the title.
To join a room, click on the desired topic. This opens the Jitsi video conferencing room where attendees can chat.

Create a room as an attendee
The Join a room page on the event website also features an option for attendees to launch a new meeting room for a specific topic.
To create a new meeting room as an attendee, click the Create a Room button. This opens a Launch a new topic pop-up window.
Similar to creating a room in the database, continue by filling in the following details about the room:
Room Topic: The name of the topic.
Short Summary: A short description about the meeting’s purpose.
Target People: The intended audience of the meeting.
Language: The target language of the meeting.
Capacity: The maximum capacity of the room.
After completing the form, click Create to finish. The room is then created and the attendee is redirected to the conferencing page.